The Wallachia was a single screw cargo steamer that was originally owned by Taylor & Cameron of Liverpool and used on the Black Sea run. She was bought by William Burrell & Son of Glasgow in 1893 and employed on regular trips between Glasgow and the West Indies. She was built by Oswald Mordaunt & Company, Southampton (Yard No 202) and launched on 13th March 1883. She measured 259.2′ x 36.1′ x 18.0′ and her tonnage was 1724 gross tons, 1133 net tons. She was powered by a single 2 cylinder compound steam engine delivering 170 nominal horse power manufactured by her builders. The vessel’s official number was 87830.

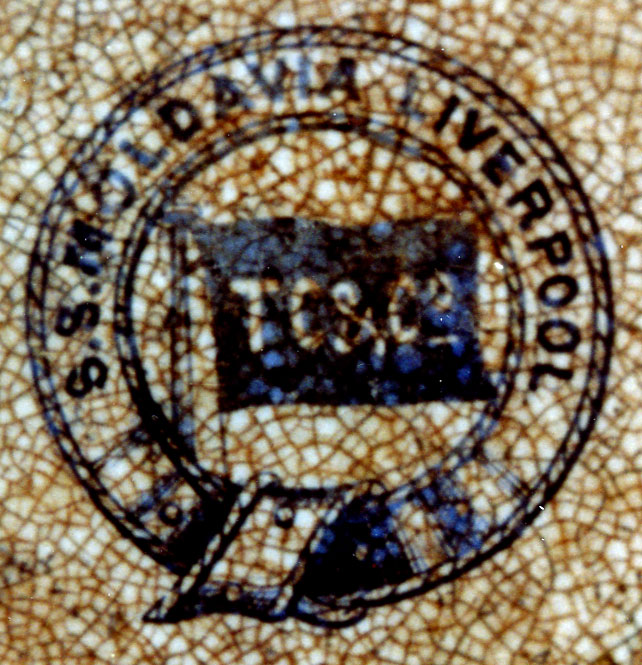
On 29th September, 1895 she left Queen’s Dock, Glasgow at 10am bound for Trinidad and Demerara. Captain Walton and his crew of twenty one had on board a valuable general cargo including whisky, gin, beer, acids, glassware, and earthenware plus building materials and footwear. They also had one passenger aboard.

The weather was foggy and she was delayed, around noon, off the Tail of the Bank. As the fog lifted slightly in the early afternoon Captain Walton resumed his voyage, keeping to the channel on the Cowal side of the river. Just before 4pm, as the fog thickened once more, the Wallachia grounded off Innellan Pier but quickly refloated on the rising tide. Shortly afterwards, as he felt his way gingerly down river, Captain Walton was startled by the appearance of a large steamer off his starboard bow. It was the 1406 ton Norwegian steamer Flos. It was obvious that they would collide and he only had time to order everybody clear of the forecastle before the bow of the Flos crashed into the starboard side of the Wallachia ten feet from the stem.

Ballast pumping plan – SS Oakfield & SS Wallachia. Lloyds Register Foundation.
The captain of the Flos kept his engines ahead to keep the vessels together while the Wallachia’s lifeboats were launched. The first capsized as it was lowered into the water but the crew and the single passenger were soon safely aboard two of the remaining three boats. A plan to tow the Wallachia to shallow water was quickly abandoned when the Flos backed away, as the Wallachia immediately began to settle at the bow. Twenty five minutes after the original collision the Wallachia sank by the bow, with a terrific explosion as she plunged beneath the surface. The crew rowed safely to Toward Lighthouse.
In October, 1895 the salvage ship Torch was reported over the wreck with divers down to remove her masts. The Wallachia was then forgotten for eighty years until rediscovered by divers from Girvan Sub-Aqua Club in 1977 who were diving on an unknown obstruction which had entangled a fisherman’s nets.
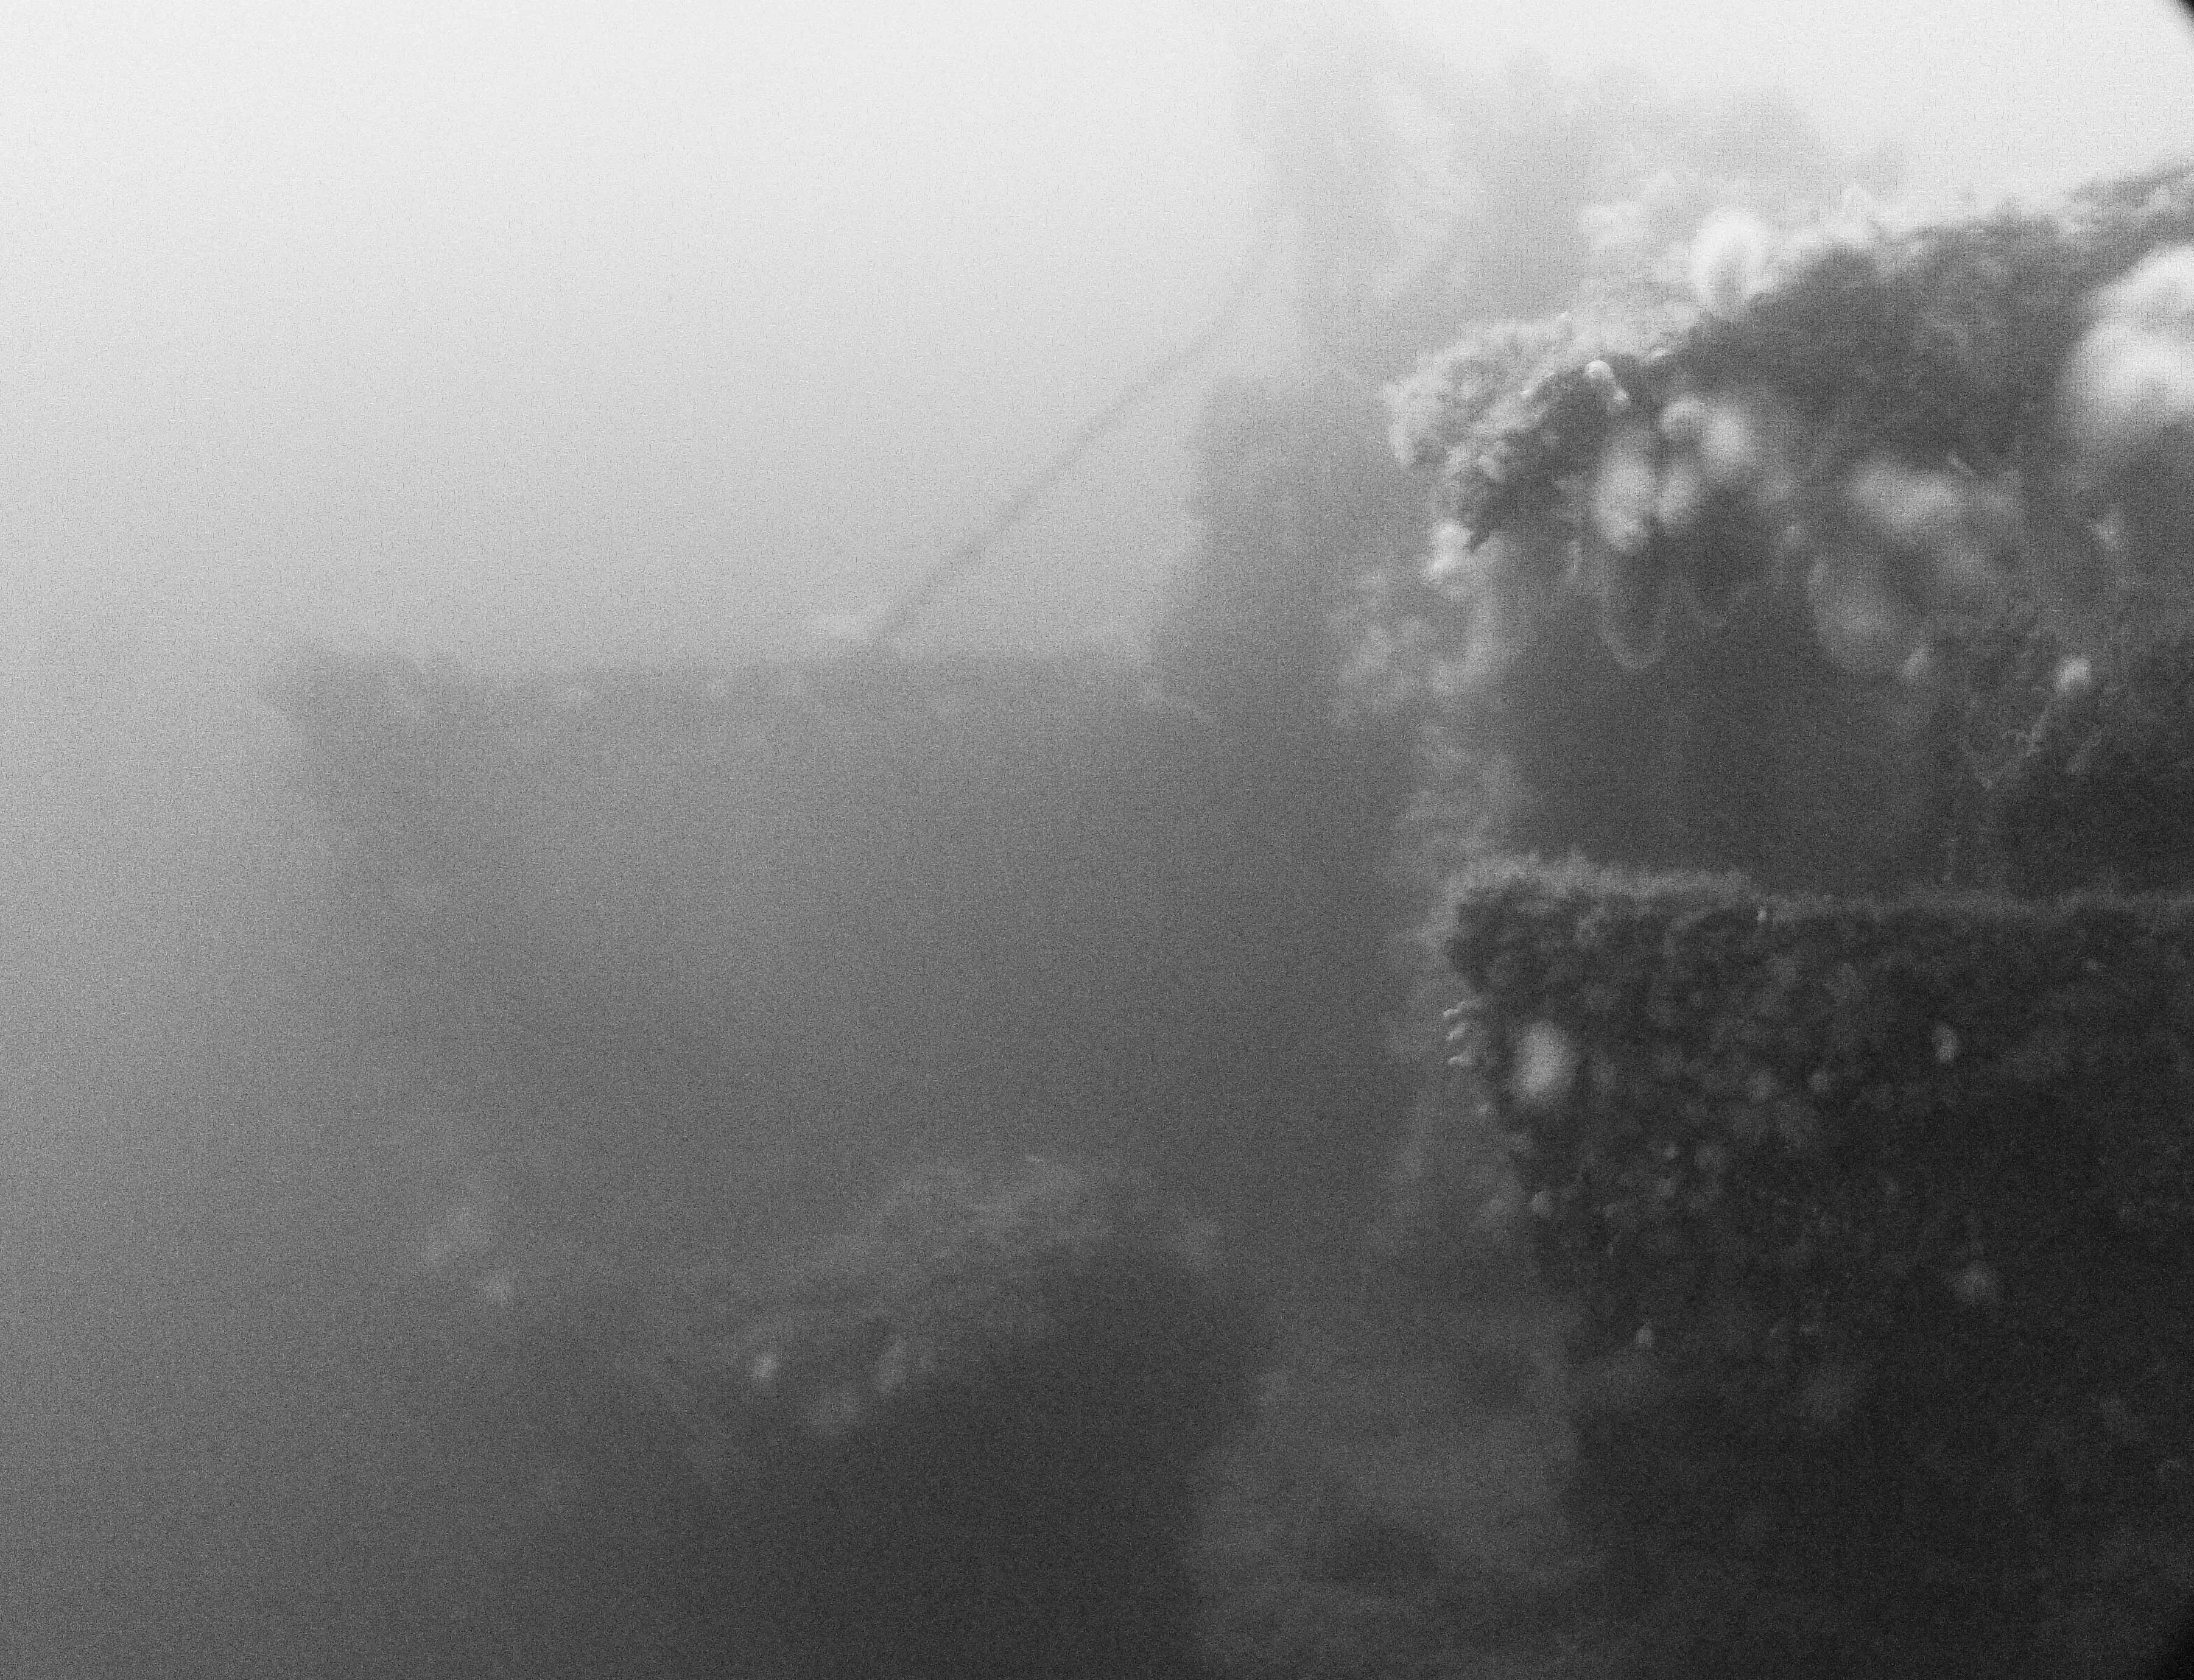
The wreck of the Wallachia lies upright on a muddy seabed at 34 metres in position 55°51.707’N, 004°57.189’W. Her bow points approximately north and the average depth over the wreck is 30 metres. The raised forecastle has a large winch on top and can be safely entered and exited by the two rear facing bulkhead doors. As with many of the wrecks, care should be taken as the visibility will quickly reduce to nil as finning disturbs the deep silt. The gash of the collision on the starboard bow is clearly visible. There is a large heavy fishing net entangled on this part of the wreck, therefore care is essential.
Wallachia Dive slideshow


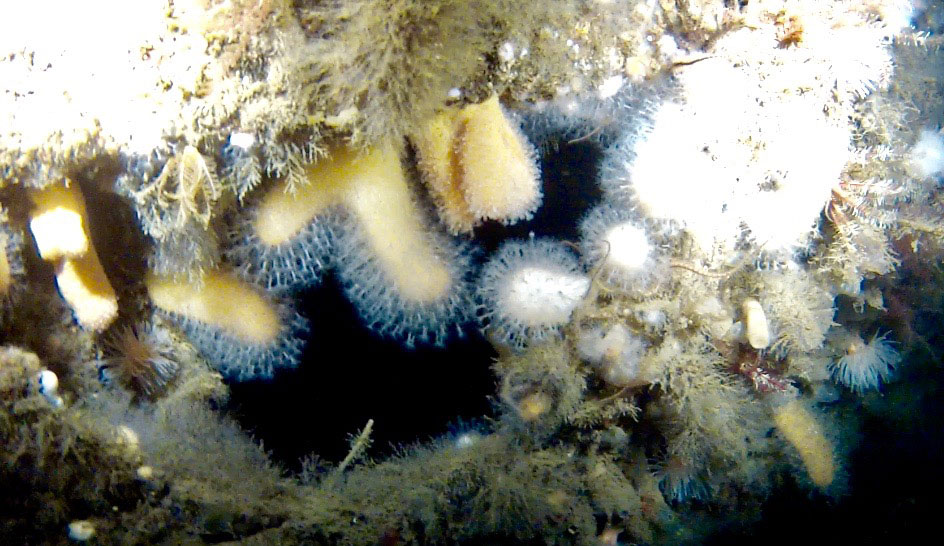

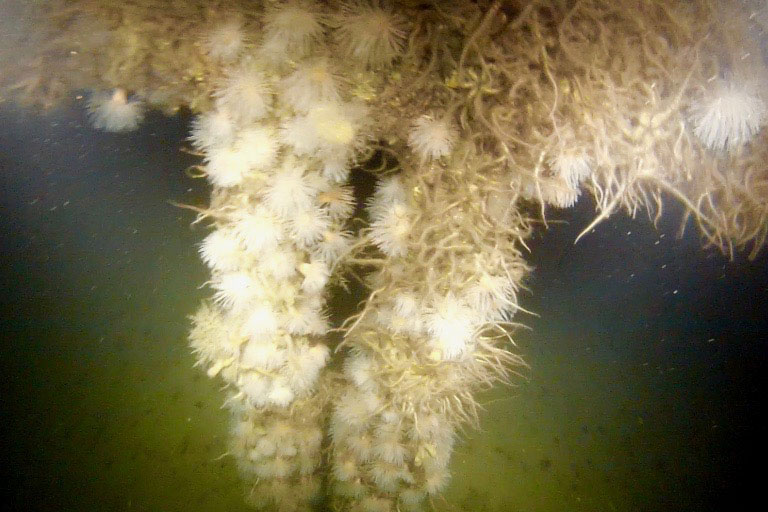


The foredeck has three holds, each of which is deep with silt, although some interesting items of cargo have been recovered from these holds. The remains of the foremast lie across the middle hold. The raised bridge deck housed the captain’s quarters and provided access to the engine and boiler rooms. The funnel has disappeared but provides an interesting entry to the engine room as it is possible to swim down the remains of the funnel and aft, below deck level, into the engine room and out through the roof. The wooden decks on each side of the superstructure have rotted giving access to cabins, galley, bathroom and coal bunkers below.

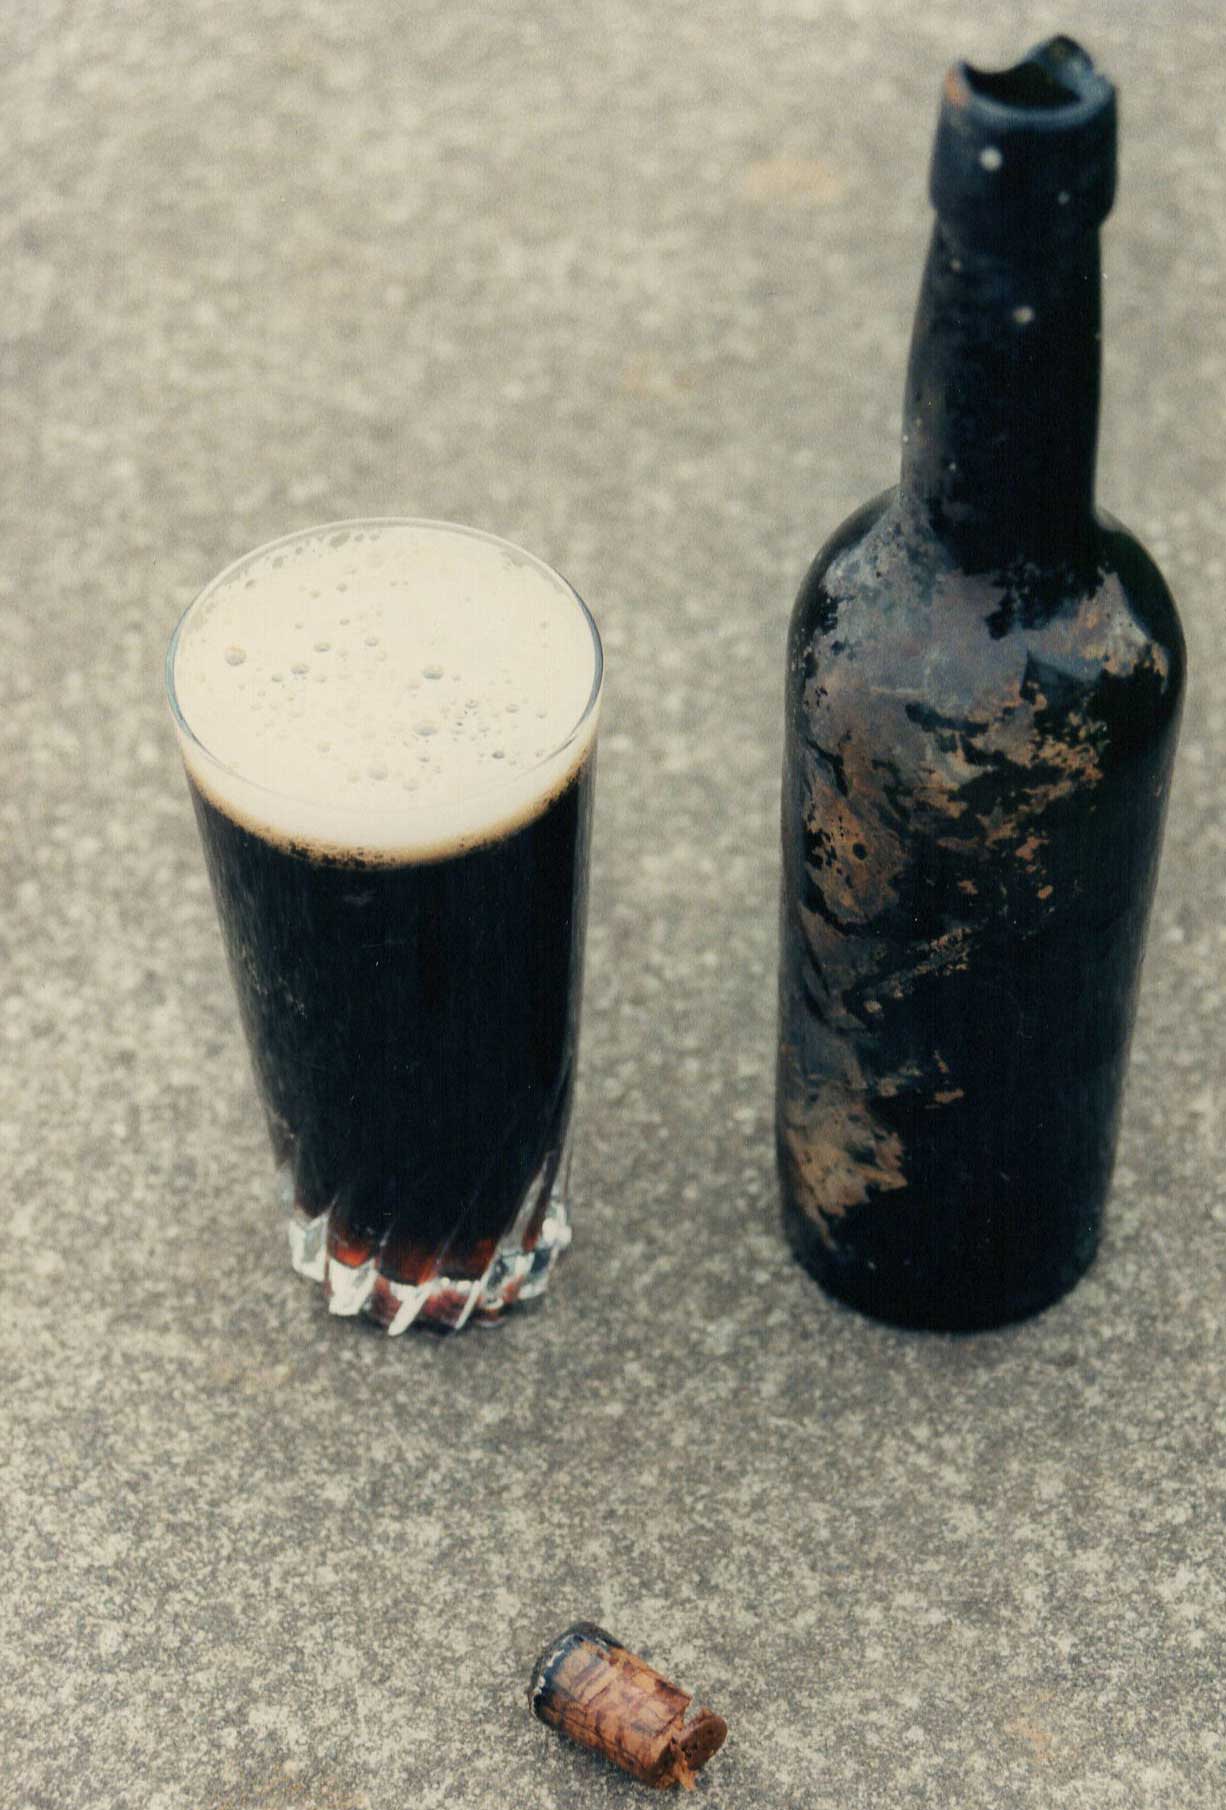
The rear deck has three more holds and, just aft of the engine room, lie the remains of the deck cargo of stannous chloride in earthenware jars. Each jar carries the inscription ‘Richard Smith, Acid Maker, Glasgow,’ a company still in existence today. The rear deck holds contain thousands of bottles of beer. The corks are inscribed with the name of the maker – McEwans. The covered stern houses the emergency steering gear, toilet and store.
Wallachia slideshow


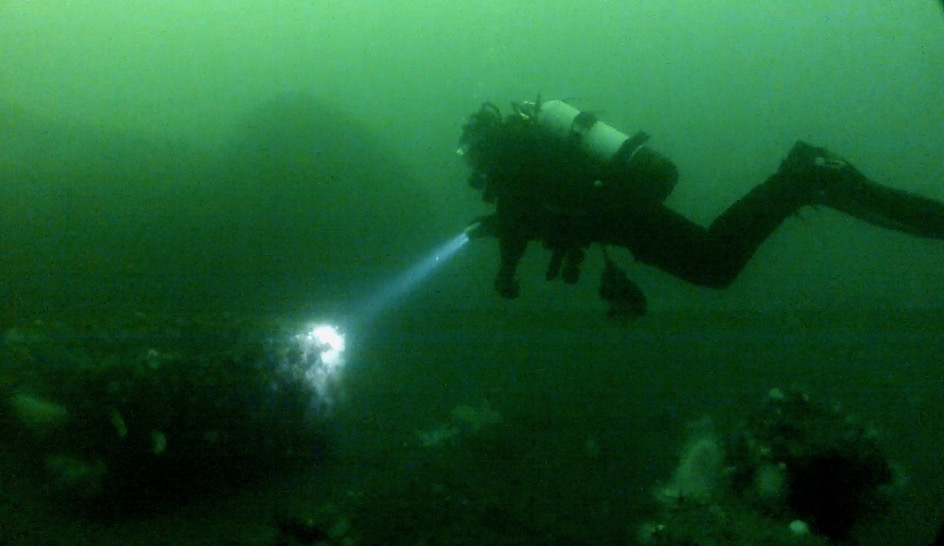
The depth and probable darkness of the Wallachia provide the major hazards for the diver, plus the relatively unpredictable currents that can be experienced at the site. The wreck lies close to the Wemyss Bay to Rothesay ferry route and the shipping channel, so good boat cover, with clearly visible ‘A’ flag, is essential.


Girvan SSAC on the first dive.
We would like to thank Lloyd’s Register Foundation – Heritage & Education Centre for allowing us to reproduce documents from their archive in this article.


